Sunday, March 11, 2018

How to Make a Mixed Media Photo Frame

Follow this step by step tutorial on how to make a Mixed Media Photo Frame from scratch.  Easy to follow and delivers great results using things you already have.


STEP-BY-STEP:
Step 1: Cut out a 10cm x 10cm piece of Balsa Wood.  Cut the same dimensions for the back using cardboard.  Cut a smaller piece of clear plastic. 
Step 2: Cut a 5cm x 5cm square in the middle of the Balsa wood, for the photo.
Step 3: Stick on all your textured elements and let it dry.
Step 4: Cover the entire frame and embellishments with white gesso and dry completely.
Step 5: Spray with Distress spray stain, let it dry almost completely and then cover the entire frame with white craft glue.  Use a heat tool on it, and let it bubble.
Step 6:  Once dried, dry brush white gesso on, and layer with Pebeo iridescent paints, Nuvo Embellishment mouse, and Faber Castell texure lux.
Step 7: Add glue to the back of your frame, make sure to especially cover the edges of the inside square.  Stick the clear plastic to create the window.
Step 8:  Add glue to 3 sides of the outside edges of your frame, leaving the top side without glue, where you will slip in your photo.  Add a back stand for your frame to stand on its own.
Step 9: Once dried, add your 5cm x 5 cm photo. You’re done!


https://youtu.be/3WIBmQ7fcYA


MATERIALS LIST:
• Balsa Wood – 1mm Thick
• Clear Plastic (Old packaging)
• Embellishments
• Nuvo Embellishment Mouse - Pacific teal
• Faber Castell – Texture Luxe Gold
• Pebeo – Gold and Black blue
• Mont Marte - White Gesso
• PVA Craft Glue

SOCIAL MEDIA:
YOUTUBE:  youtube.com/c/MyArtyHeart
FACEBOOK: facebook.com/MyArtyHeart
INSTAGRAM: instagram.com/myartyheart/
ETSY: etsy.com/nz/shop/MyArtyHeart
BLOG: art-journal-pages.blogspot.co.nz
FACEBOOK SHARING: facebook.com/groups/1892611420991342/
GOOGLE +: google.com/+MyArtyHeart
EMAIL: myartyheartyt@gmail.com

Tuesday, March 6, 2018

Mixed media fairy

https://youtu.be/cplOrLHqc-0

New video process up on YouTube.  I have noticed that my regular audience don't seem to be that interested in faces that I draw, so I didn't elaborate on it to much in this video. Although, some techniques and tricks can be used for other things like in an art journal. Inspiration is everywhere.

Hope you will enjoy this quick video.

Thanks for popping by.

Thursday, January 4, 2018

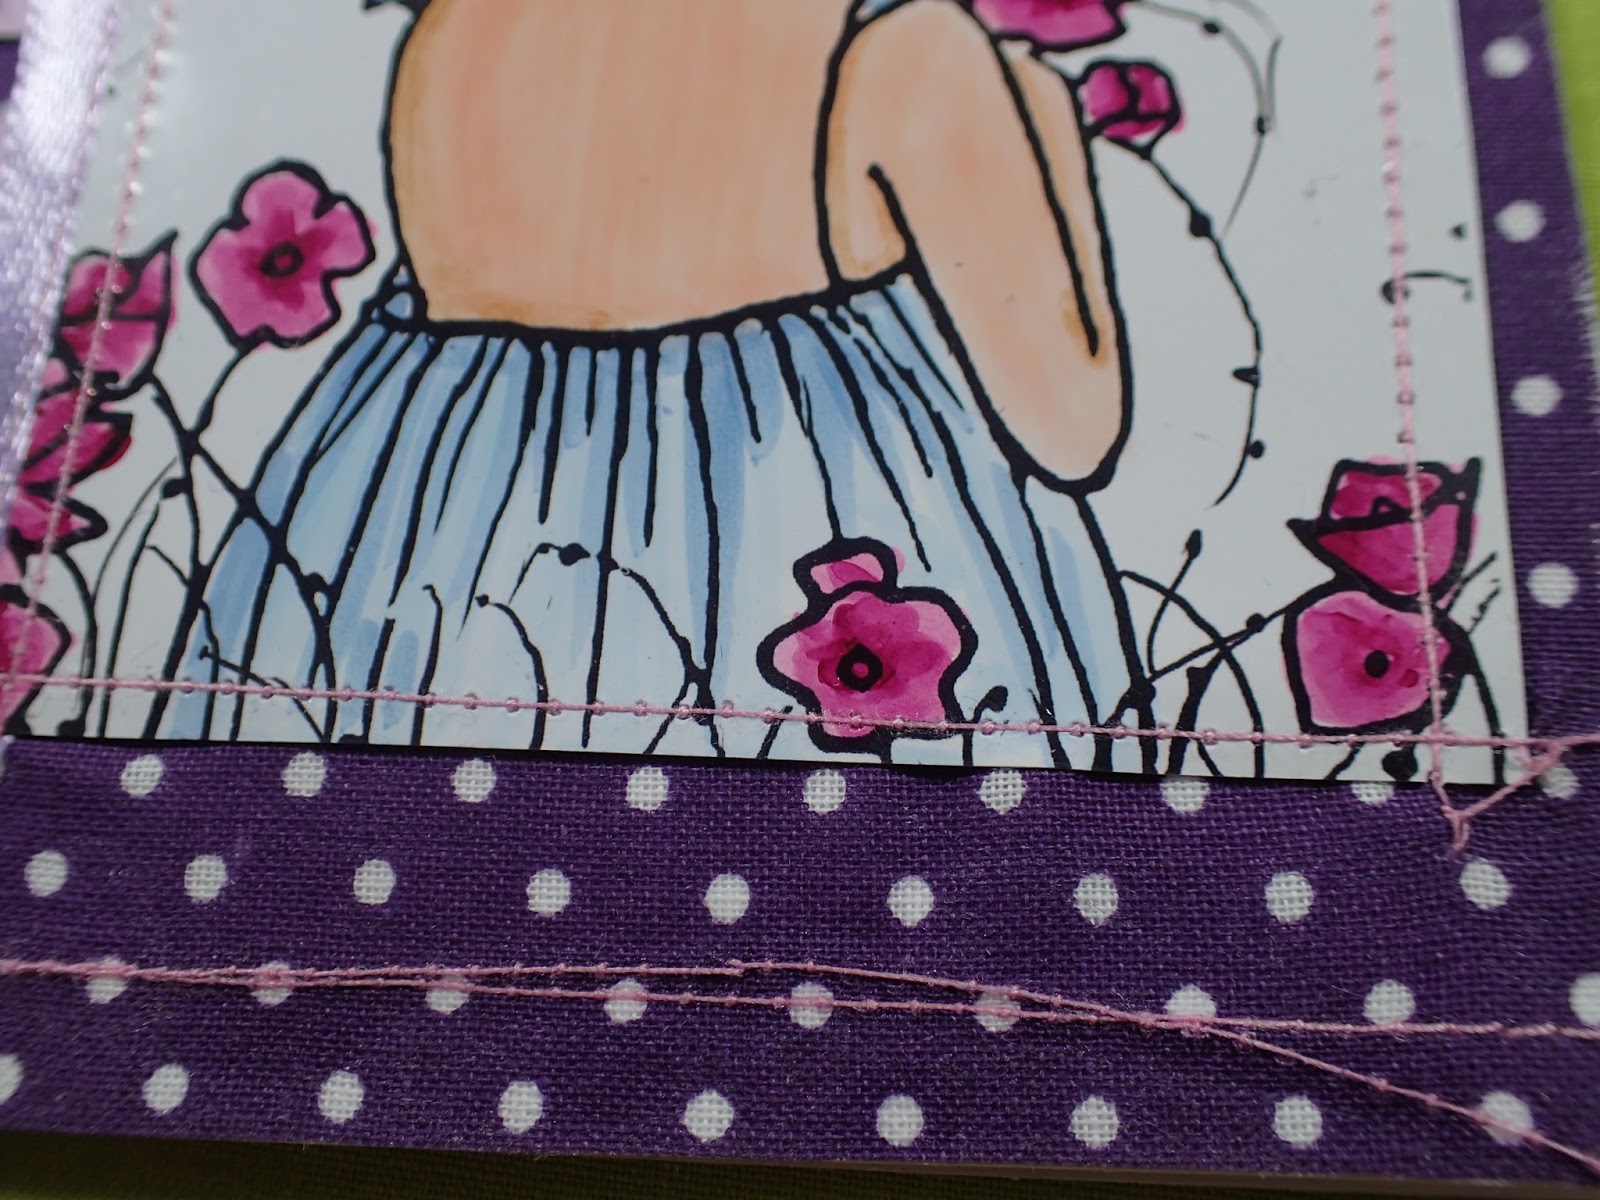
January Challenge Using a Day for Daisies and stitching.

Happy new year to you all.

This year I decided to be more involved in my art, to push myself, so I welcomed this challenge for the DT of Southern Girls Challenge.

Challenge:  Image from a Day for Daisies and stitching.

http://adayfordaisies.com/

Hope you enjoy it as much as I did making it.


Thursday, December 28, 2017

Southern Girls Challenge

Hi Everyone,

So excited to share some news with you all, as I have recently become a member of the design team for Southern Girls Challenge.  Each month we will create a themed project and have lots of fun.

If you are interested in checking out this for your self and seeing what its about, and get some cool inspiration, click this link: http://southerngirlschallenge.blogspot.co.nz/

I will be submitting my first project before the 8th of January 2018, which is our deadline, so be sure to pop back later to check it out.  I'm pretty sure you will love it.

see ya later!!

Jeanine


Wednesday, July 26, 2017

Hi to all my arty friends, thank you for visiting my blog.

Please check out my latest video of a girl with leaves or feathers, whatever you would like it to be.

Thanks for watching and I'll see you later!

xxx

Sunday, July 2, 2017

Flip through

Hi there all my arty friends! 

I hope everybody in the Southern Hemisphere is staying warm, Its chilly in New Zealand!!!

I have just done a flip through for you to catch up on the unseen pages in my journal.  Hope you enjoy it and thank you so much for watching


Please see the description box below this youtube video for links to other pages! 

Enjoy

xoxo